Day 052: 3D surface

Today we are exploring three-dimensional surfaces.
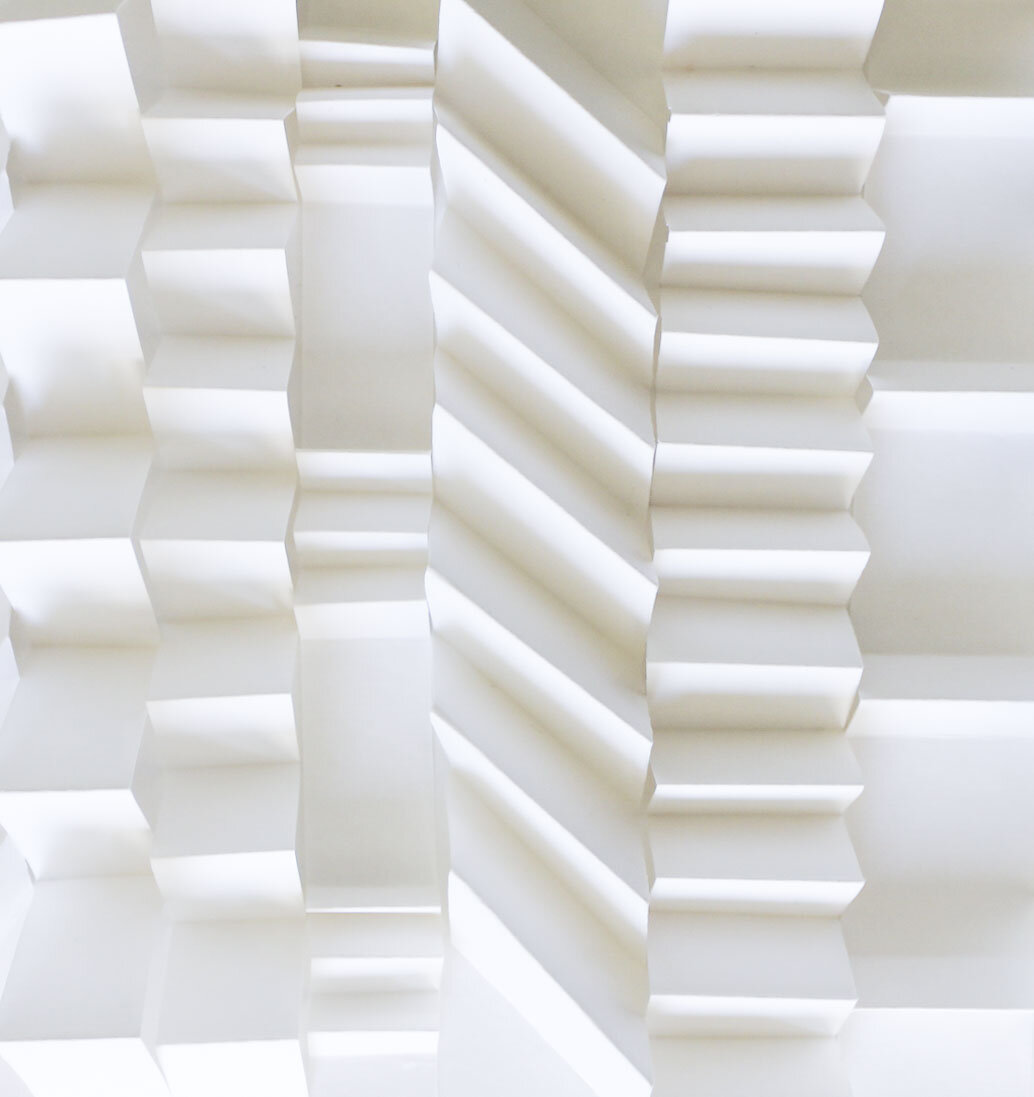
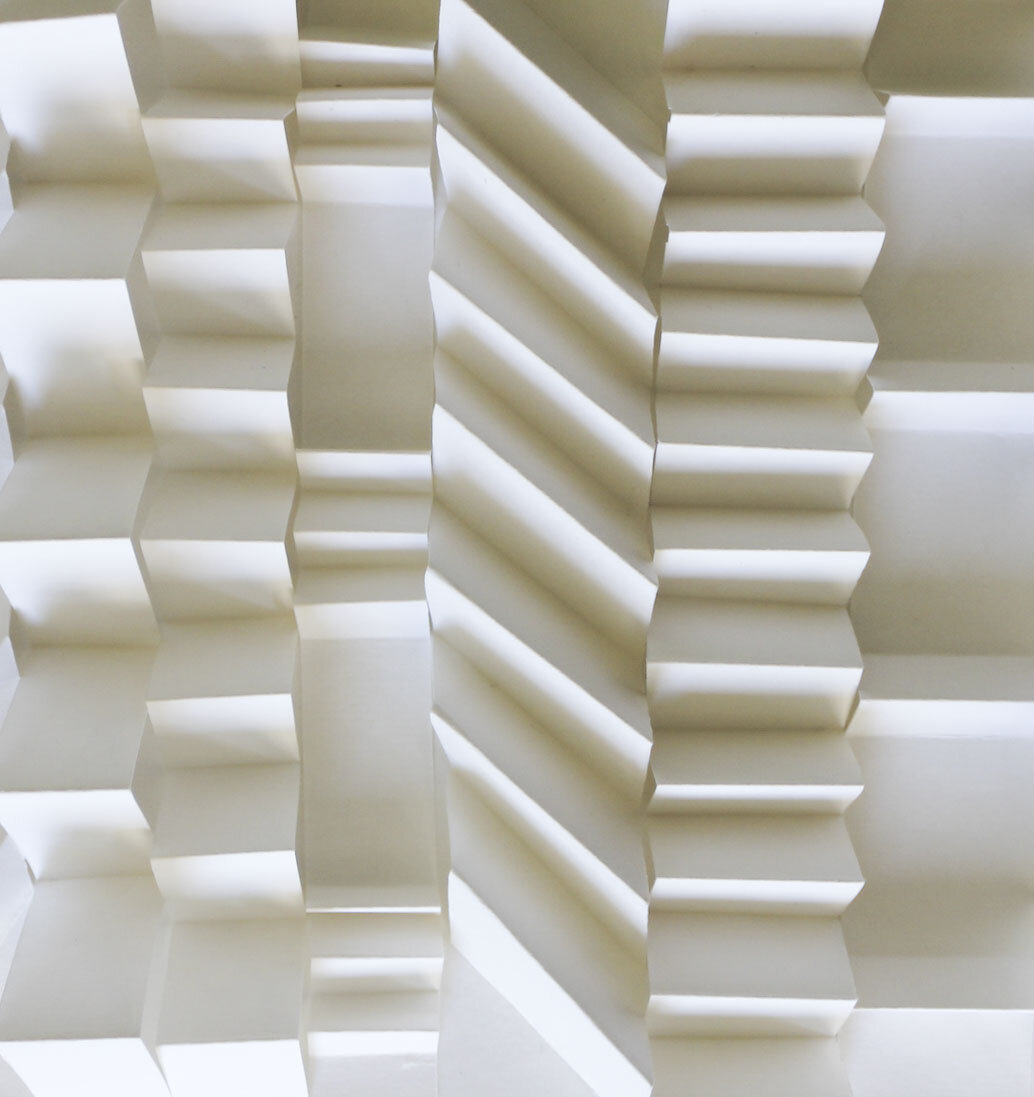
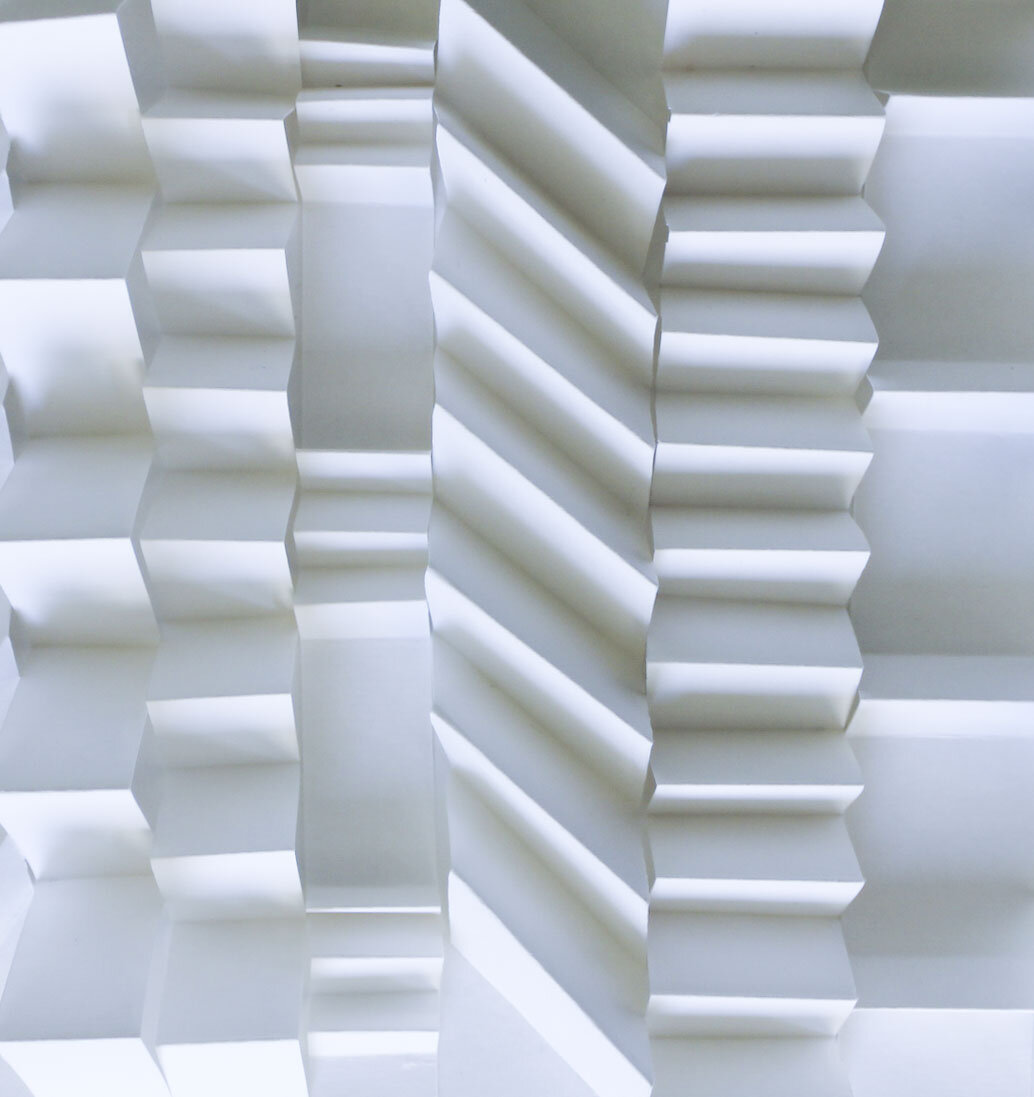
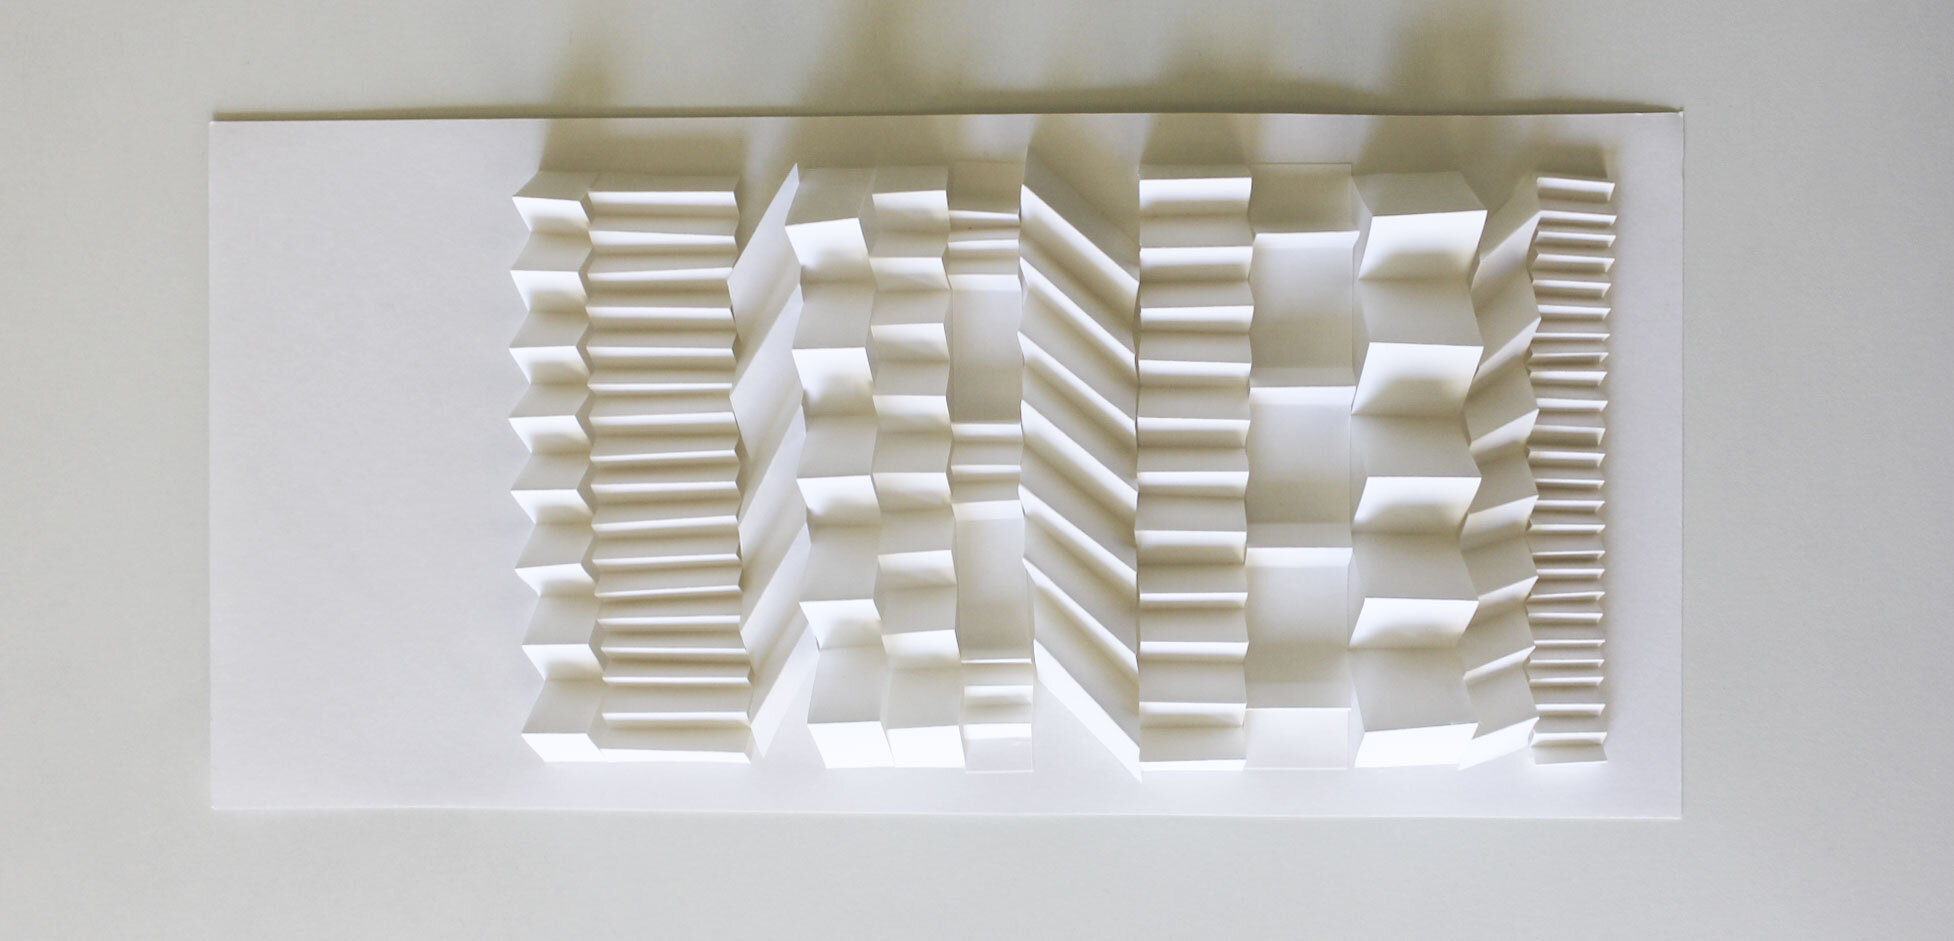
Three-dimensional surfaces in different lights. Maybe you can also test some with coloured papers?
Today we are exploring three-dimensional surfaces. It is a cousin activity with the repeat activity we did last week during the form week in the sense that this is also related to three-dimensionality. Now we are interested in making a three-dimensional surface with simple means, just using some basic white copy paper, creativity and some folding techniques. Have you ever paid any attention to very old houses and the brick facades? Have you noticed how decorative the work is sometimes and how nice it looks when the shadows are making the façade looking way more interesting, “deep” and detailed? Have you ever compared the façade of an old house to a new one with a way more simple, straight plastered façade? What is the difference? Have you ever paid any attention to a building with a corrugated iron façade? If you look at it very carefully few times during one day, you might notice that movement and position of the sun on the sky affect what kind of shadows are casted and how the overall appearance is looking like. What are all the places and possibilities you could use the three-dimensional surface effect?
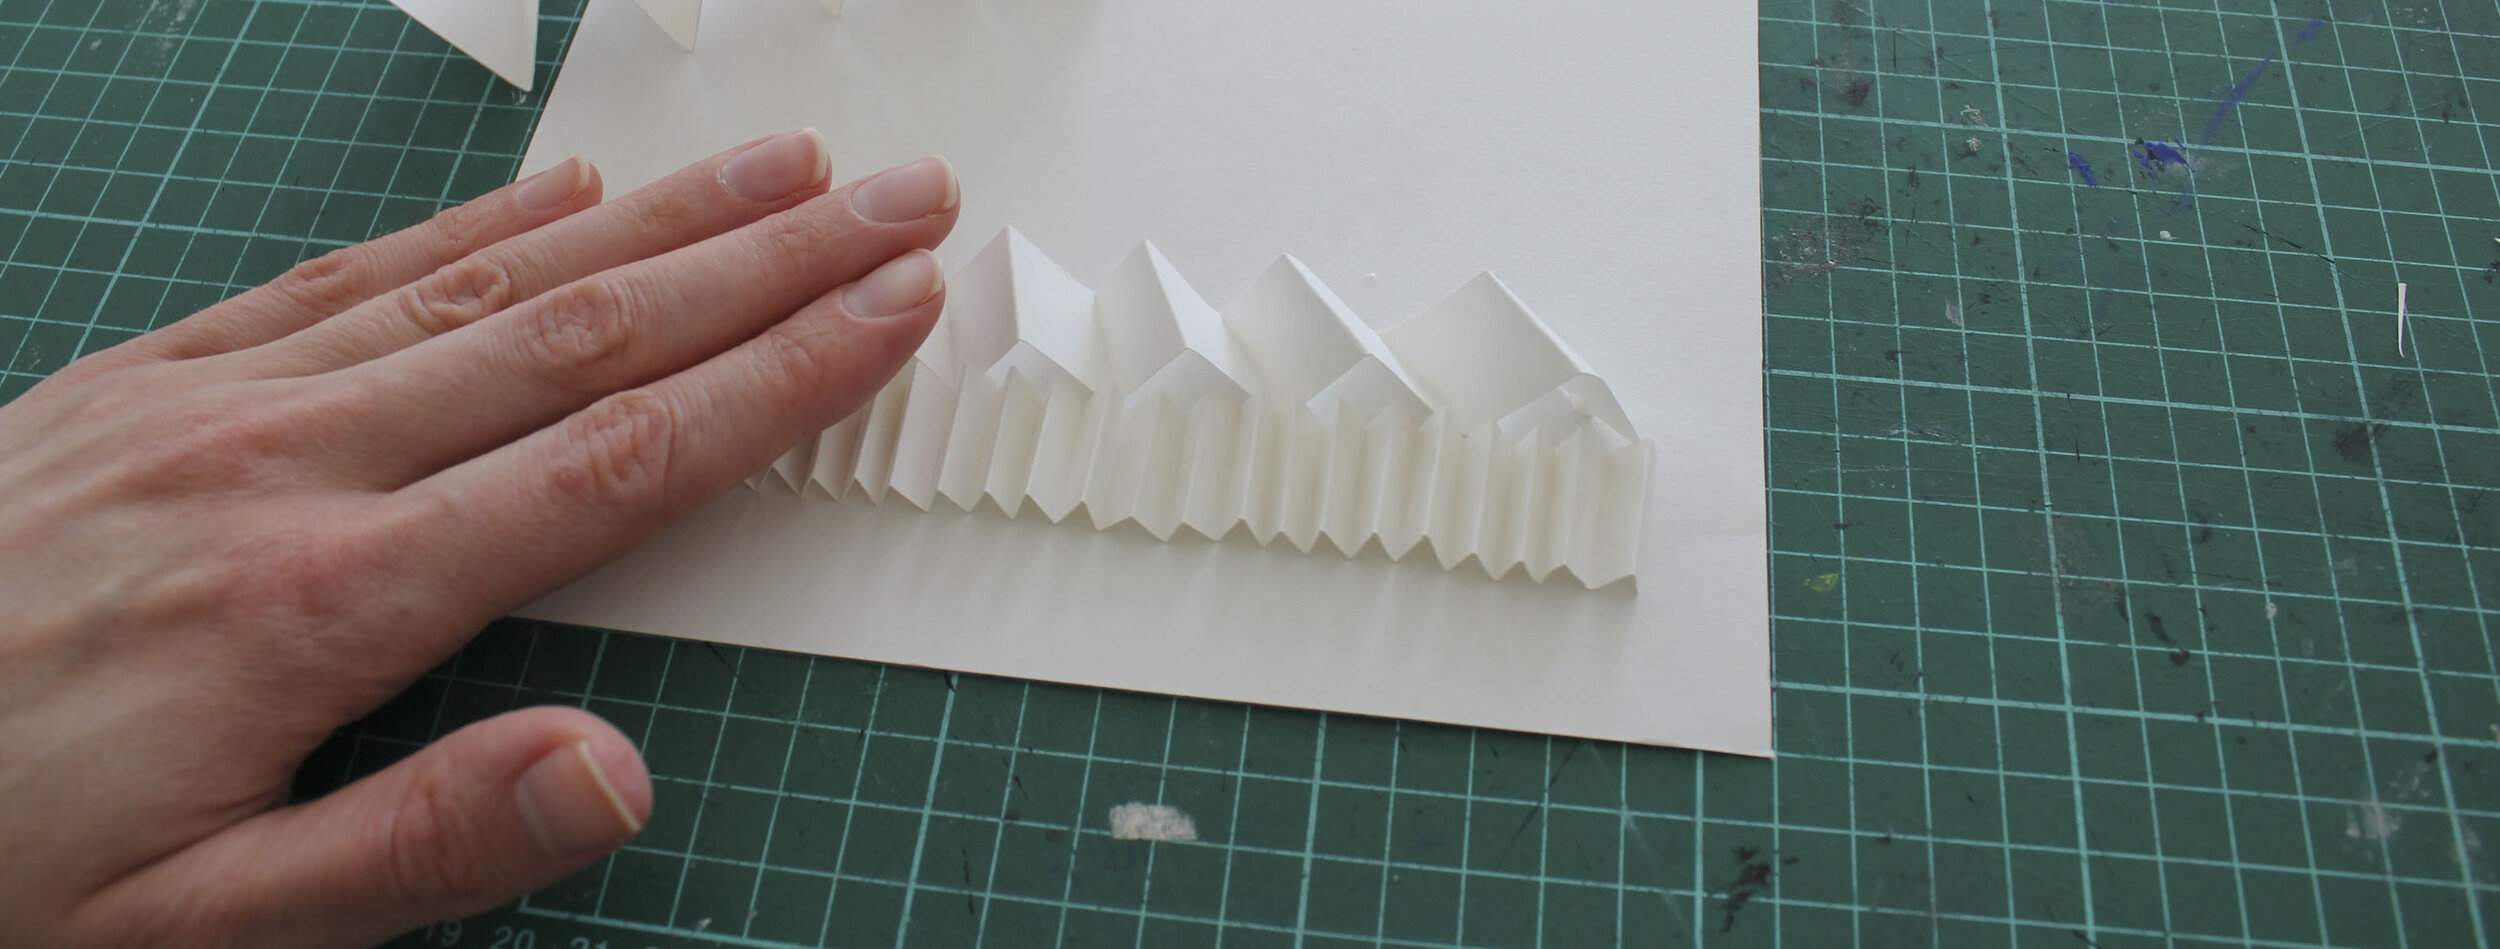
Steps in making the three-dimensional surface.
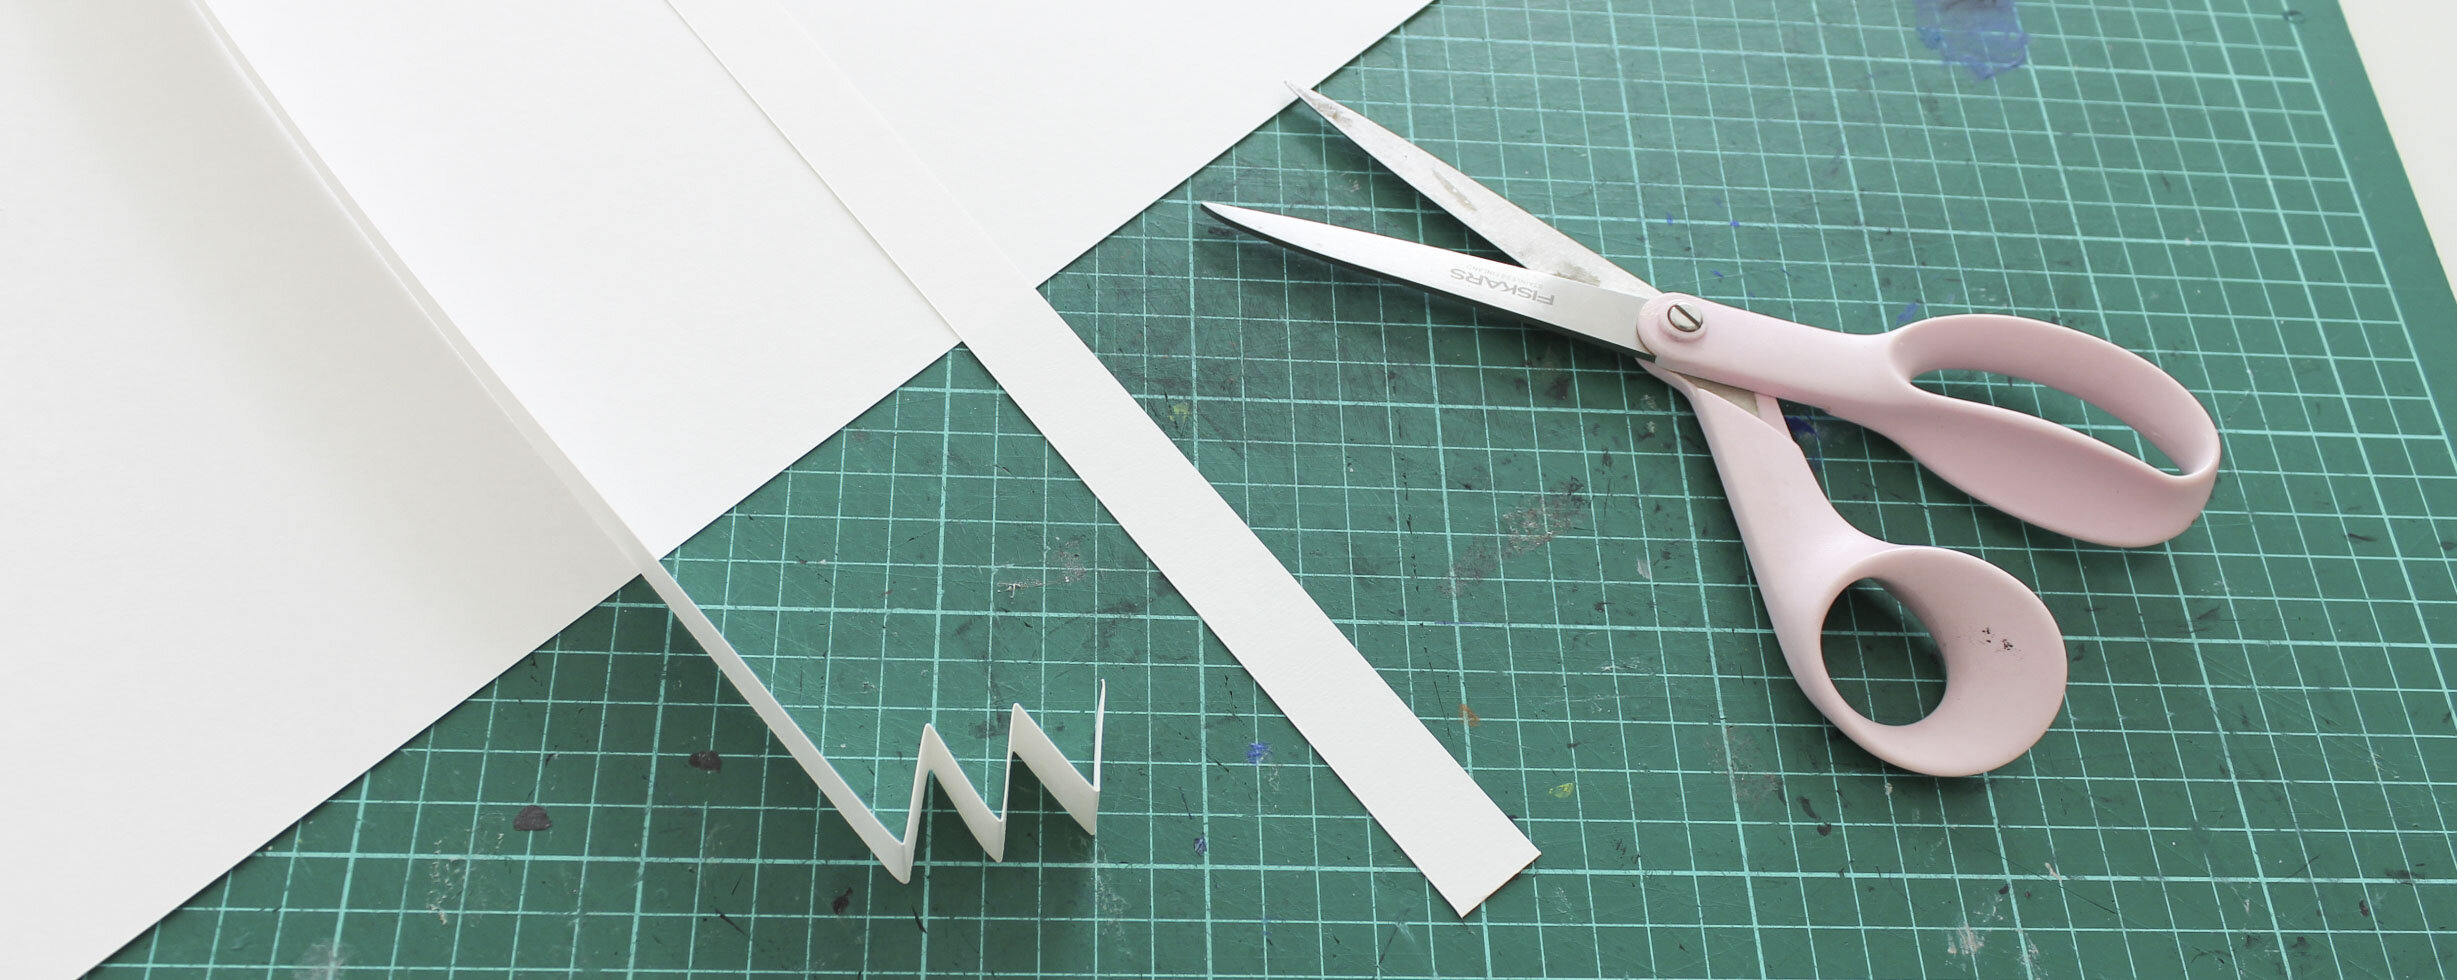
Today you can start the activity with just few things. You would only need scissors, copy paper and some glue. Also a bit of creativity and handy fingers for folding as many folds as possible!
1. First you need to cut some 2-3cm wide stripes from the copy paper. Try to make them as straight as possible!
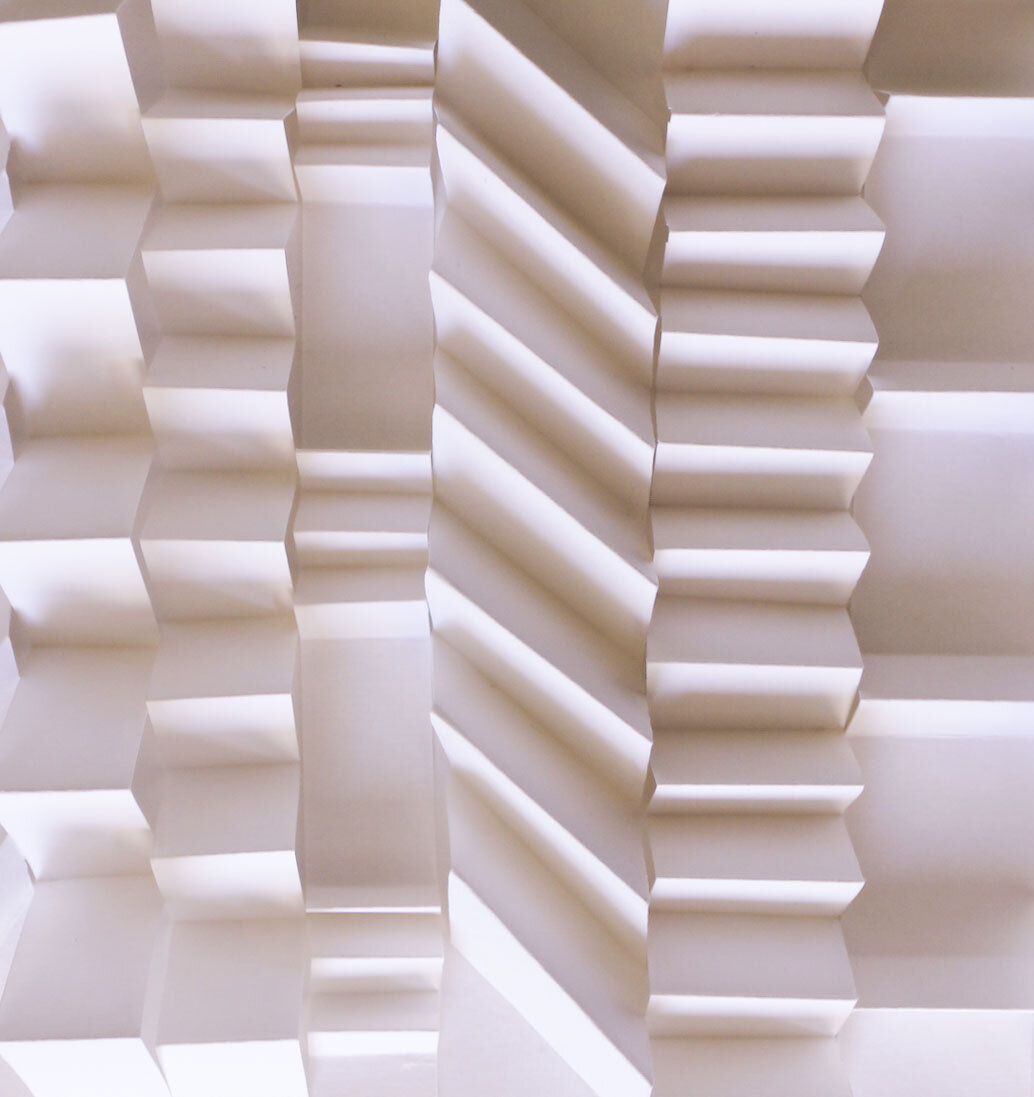
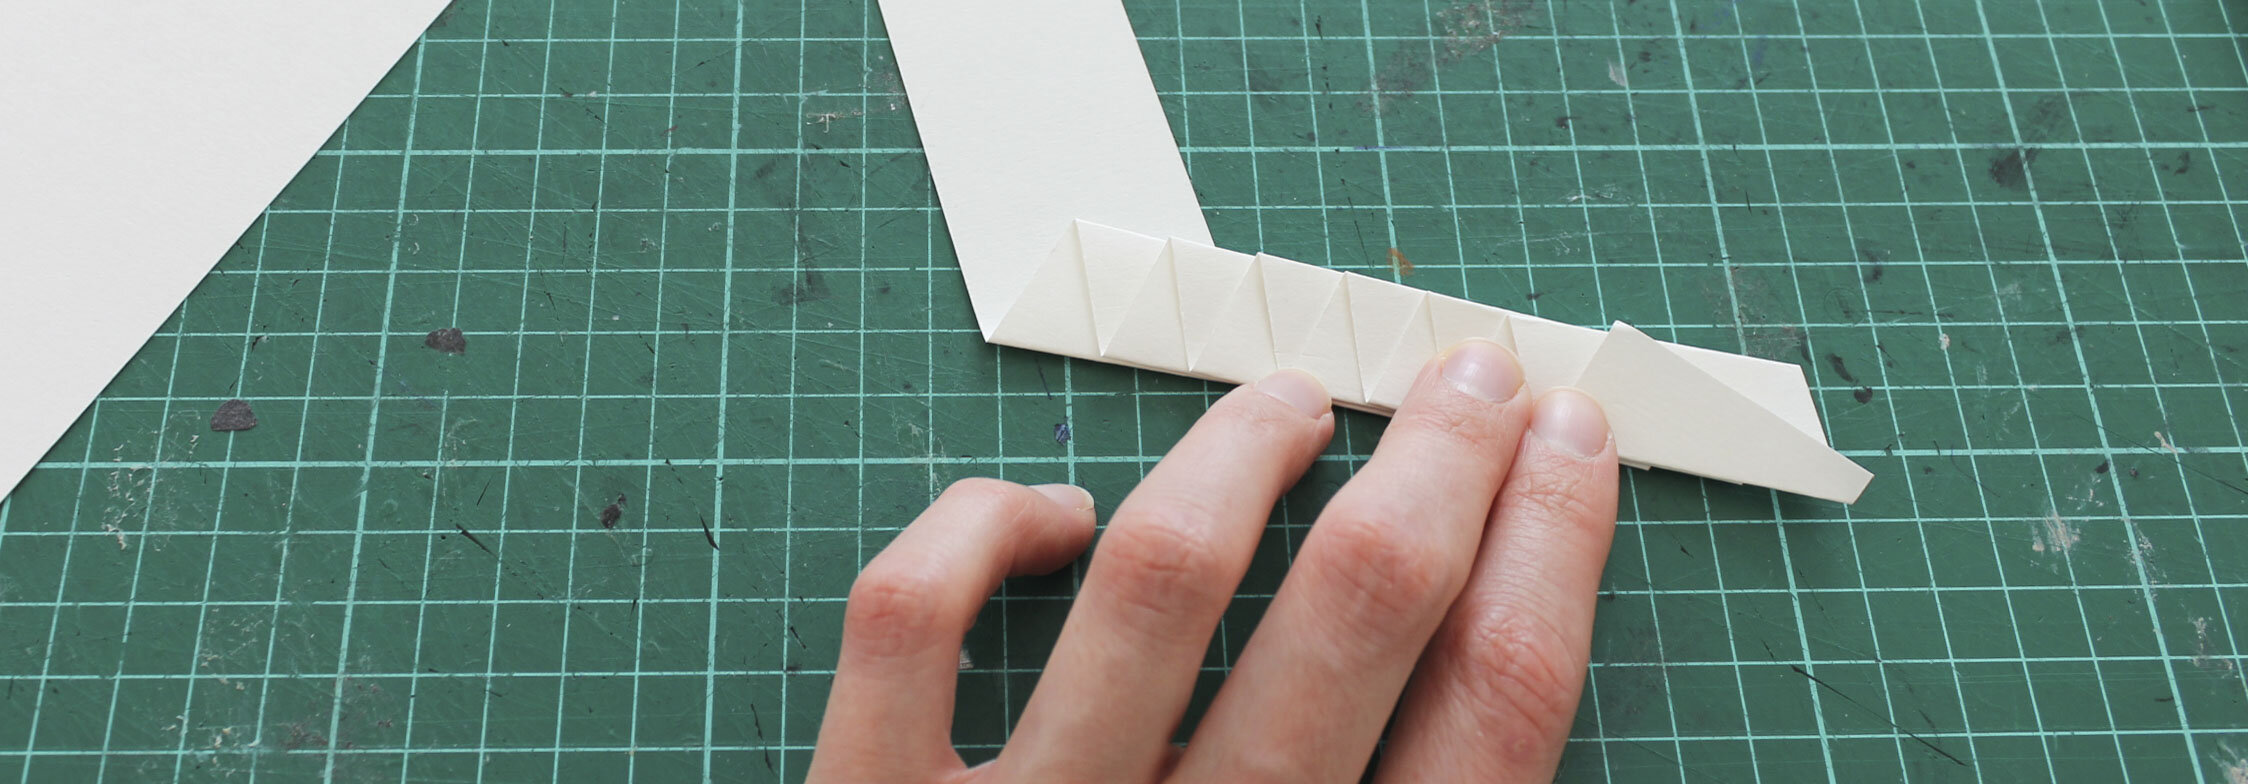
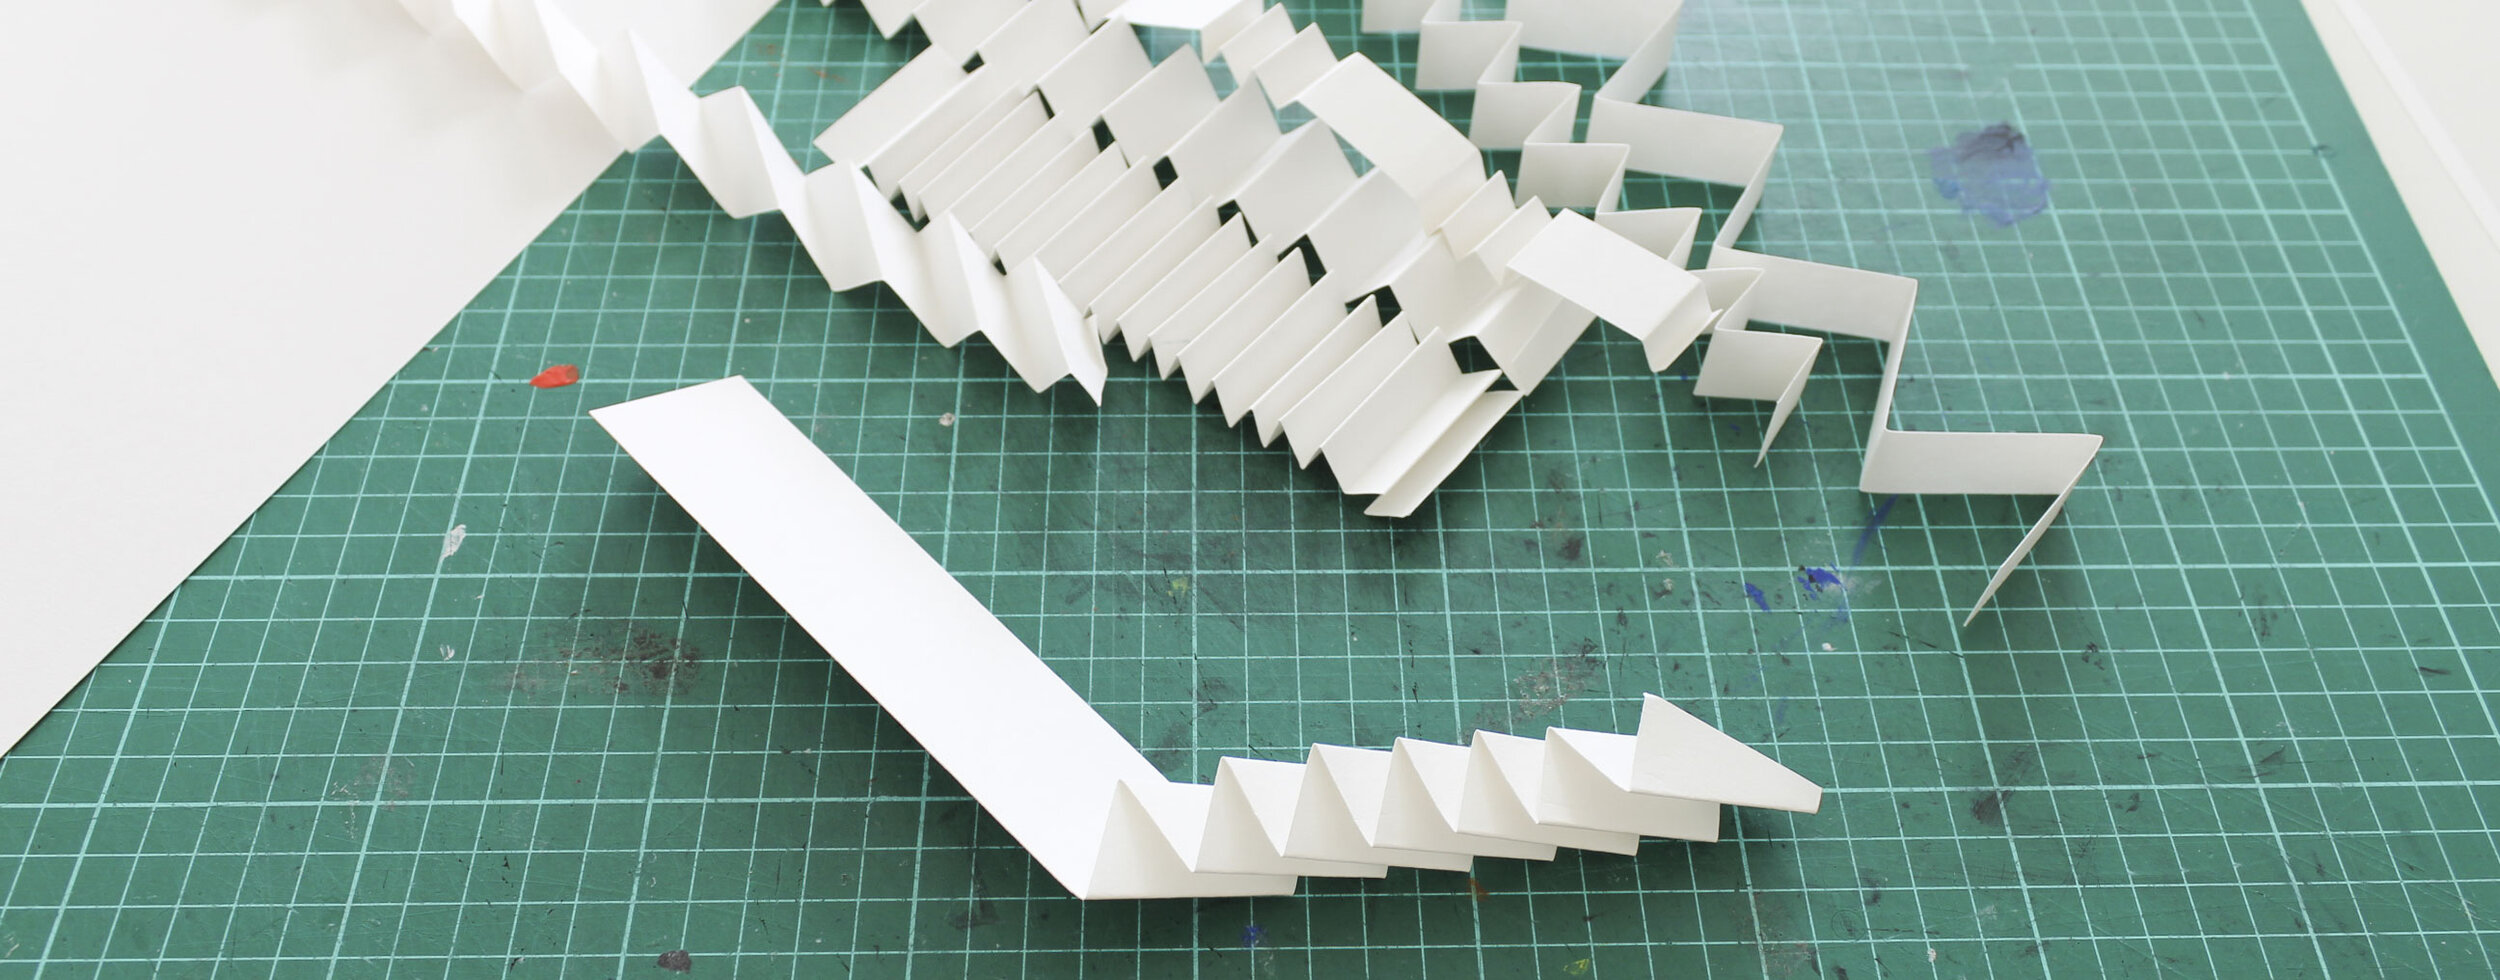
2. Then you can start folding. Try different styles, very dense folds and loose folds. Test different heights and maybe you can even fold it a bit angled. You are free to test different kind of folding techniques as well. The idea is to have a lot of variation, because you will recognize the differences also easier and the surface becomes more interesting and versatile. Maybe you can leave some unfolded parts also in some stripes. Combine next to each other different kinds of elements to highlight the differences.
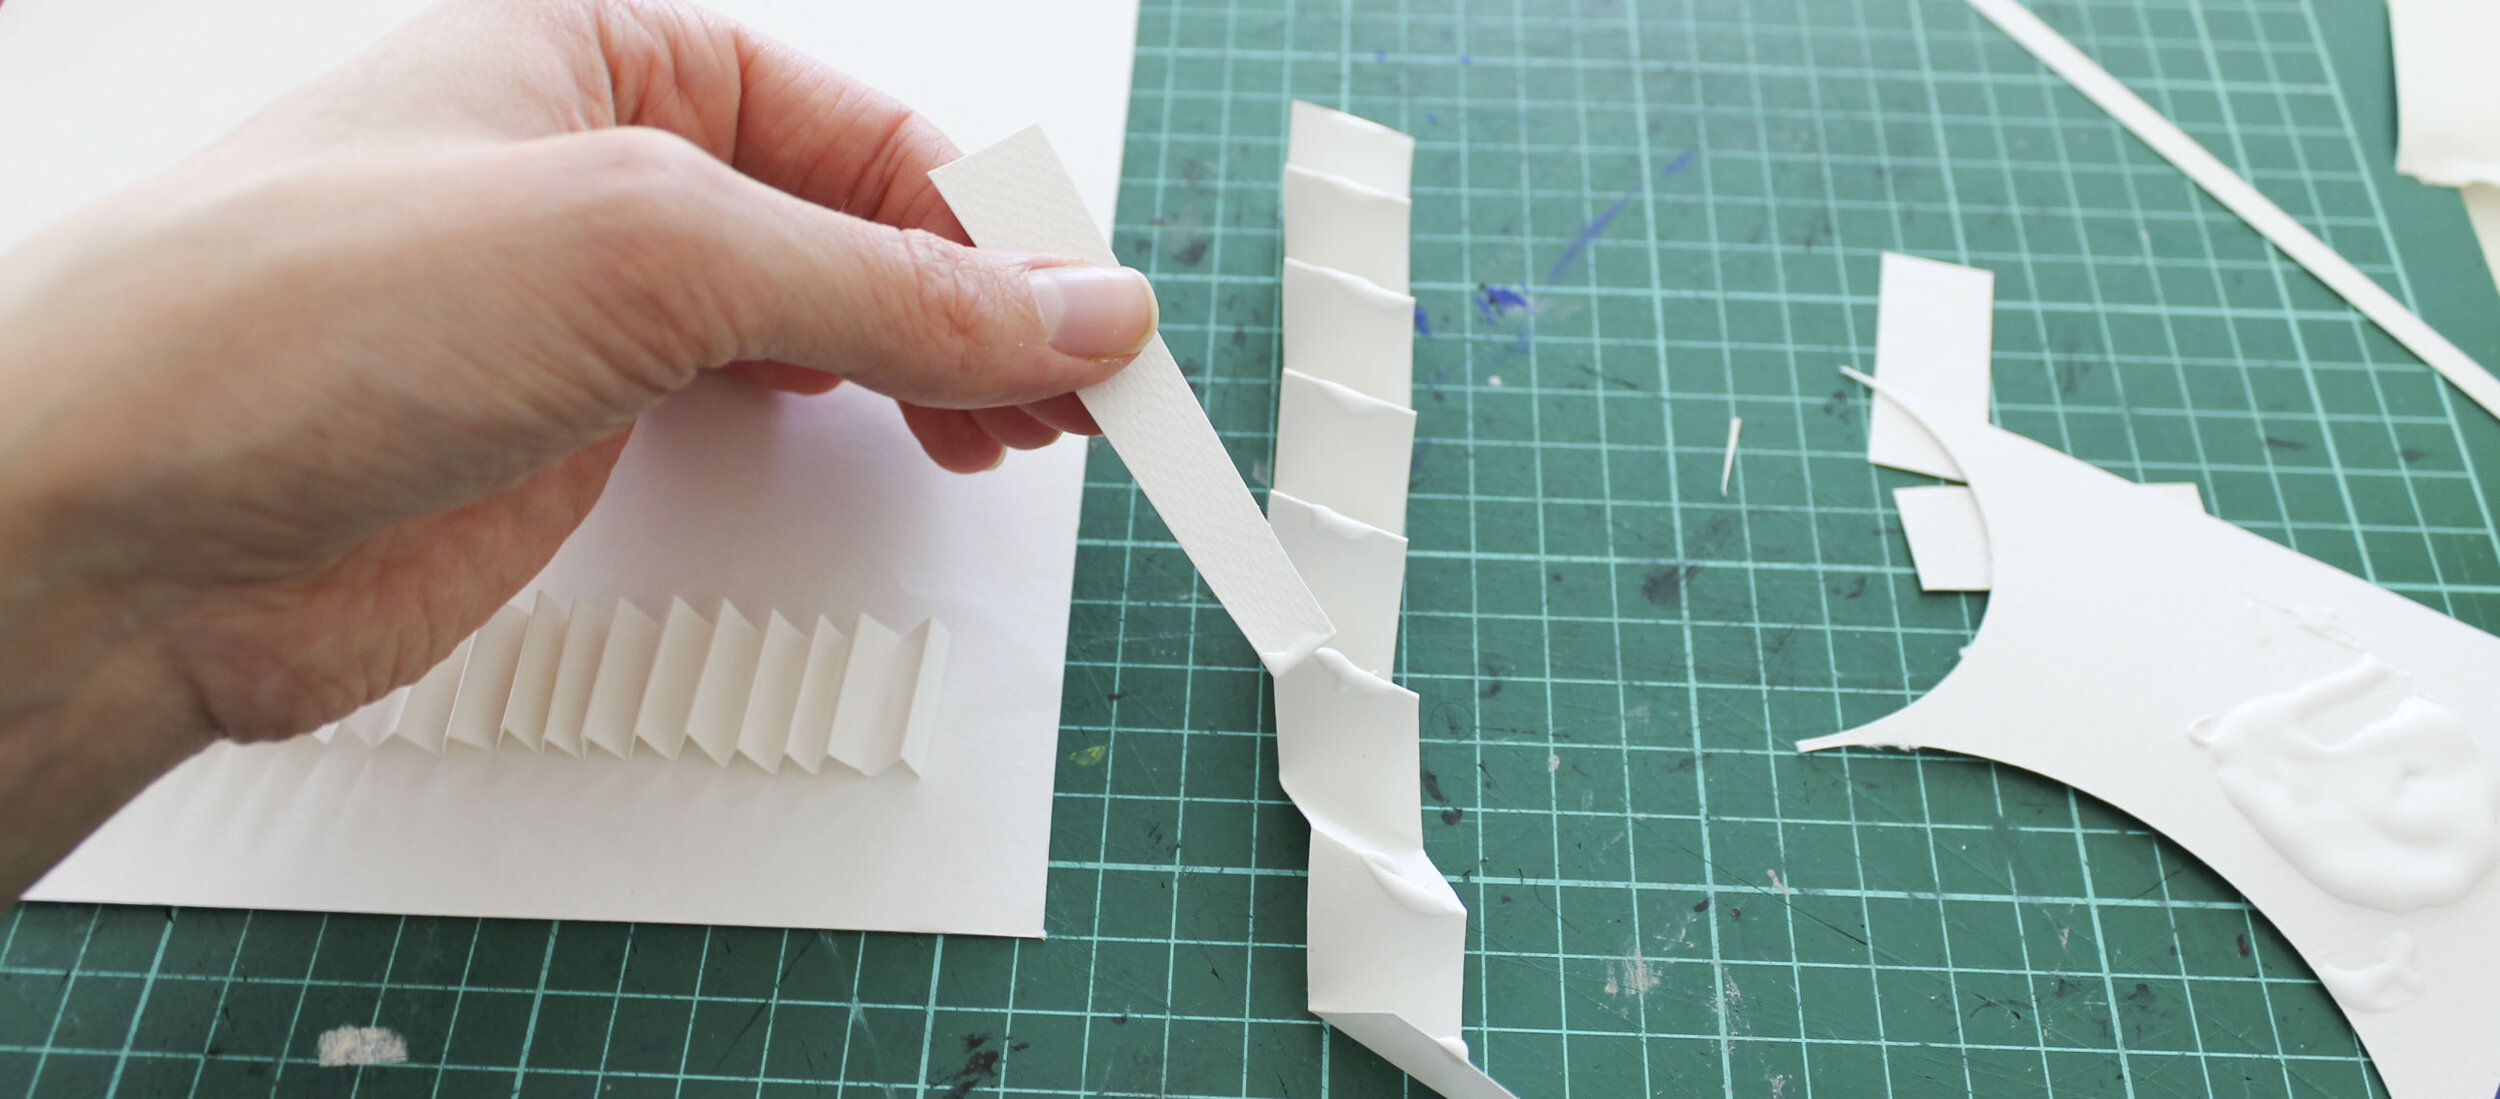
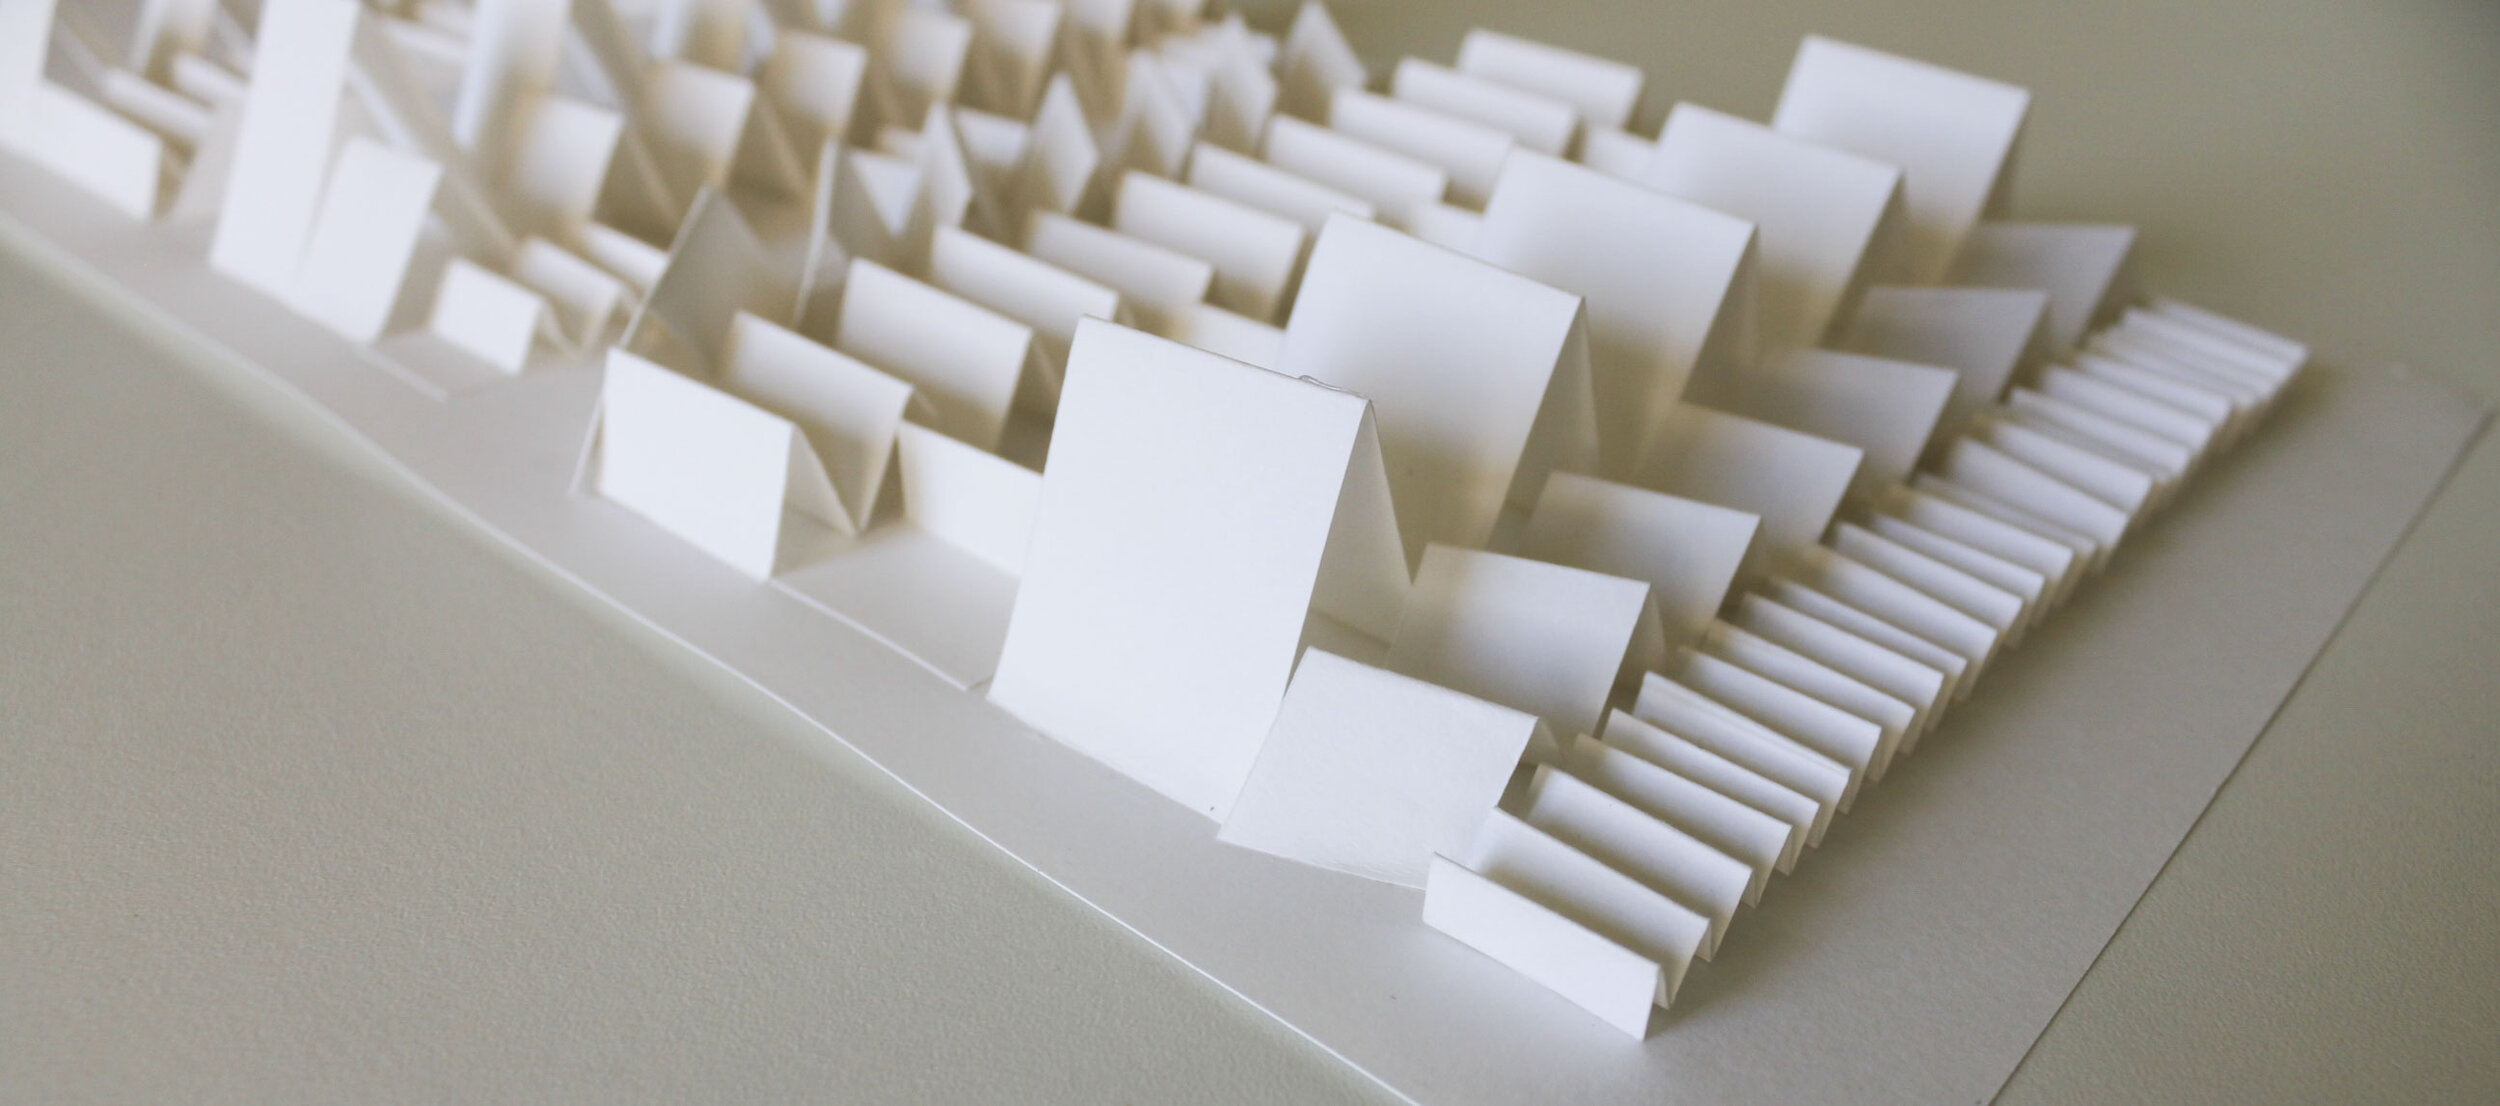
3. Once you have folded enough stripes you can fix them folded stripes with some glue on another piece of paper.
How does your three-dimensional relief look like? Maybe you can hang your piece of art on the wall or give it to your mother as a mother’s day gift next Sunday. (Mother’s day is celebrated in Finland on 10th of May) This simple design works for any kind of home context.
Have fun folding as many stripes as possible!
How is your three-dimensional relief like?
Dear followers we want to remind you that parents assume all responsibility for the safety of their children in these activities.
♥ - Team Bobola -